Installing Oracle VM Server From a CDROM
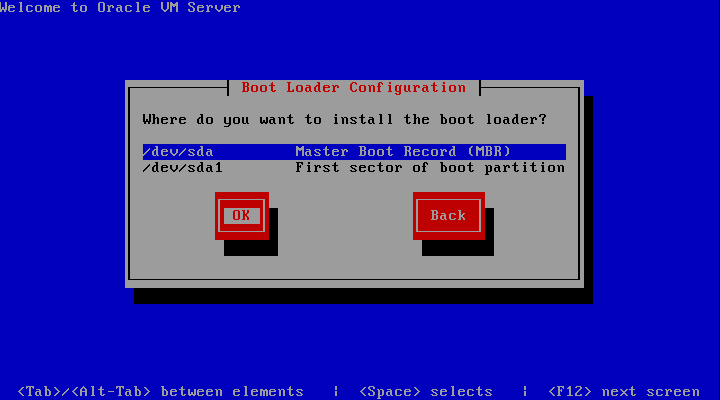
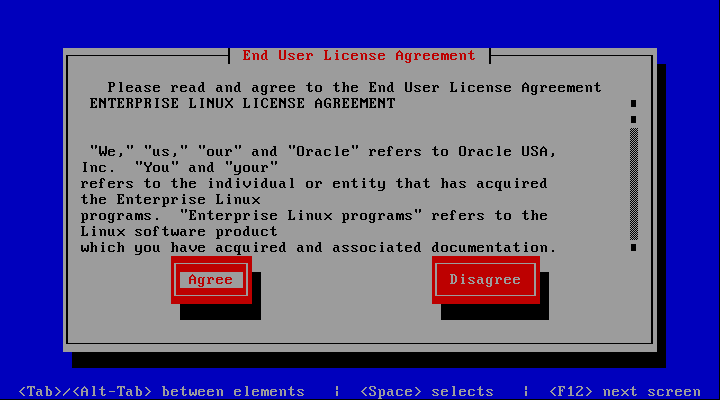
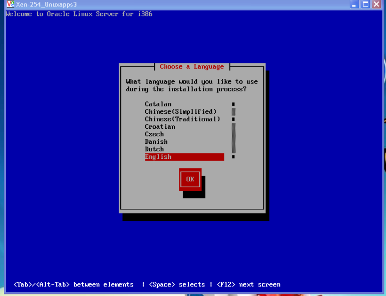
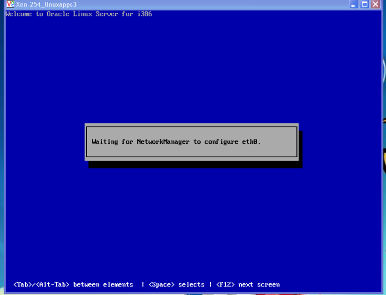
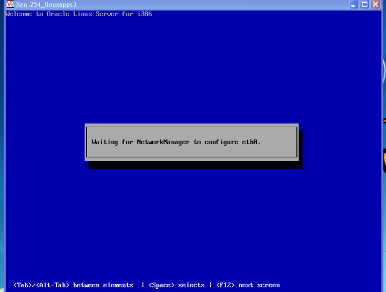
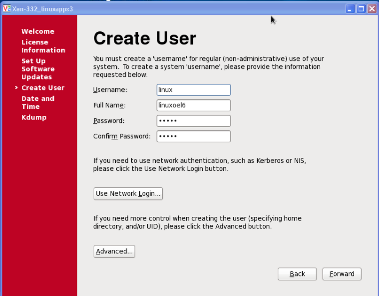
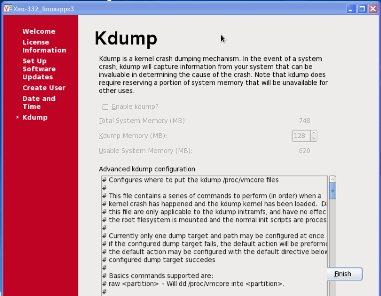
Boot the computer with the Oracle VM Server CDROM.The below screens are self explanatory.I assume that you know basics of linux.
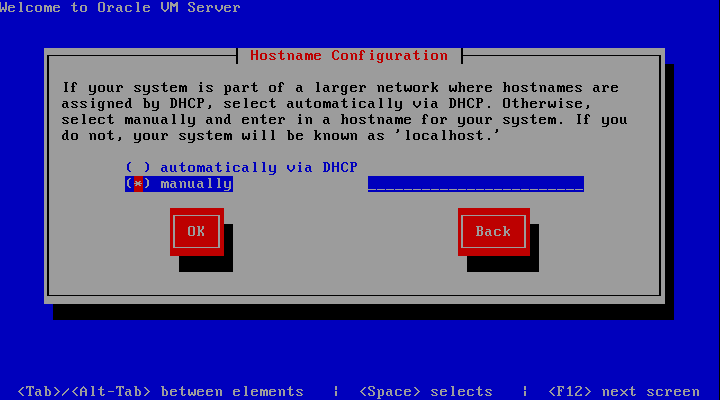
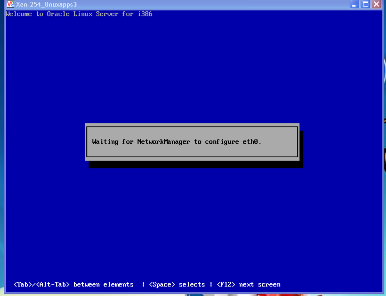
While installing virtual server please choose default layout for filesystem and choose static ip for network otherwise you may get problems later.
 System to Upgrade screen is displayed. Select Reinstall System to overwrite the existing installation.
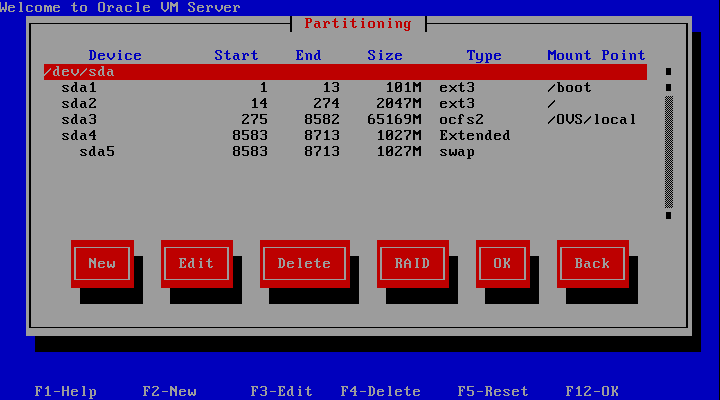
Oracle recommends you use a default partition layout.
After Installing Oracle Virtual Server please make sure you stop the firewall
#service iptables stop
#chkconfig iptables off
Installing Oracle VM Server From a CDROM
Boot the computer with the Oracle VM Server CDROM.The below screens are self explanatory.I assume that you know basics of linux.
While installing virtual server please choose default layout for filesystem and choose static ip for network otherwise you may get problems later.


 System to Upgrade screen is displayed. Select Reinstall System to overwrite the existing installation.
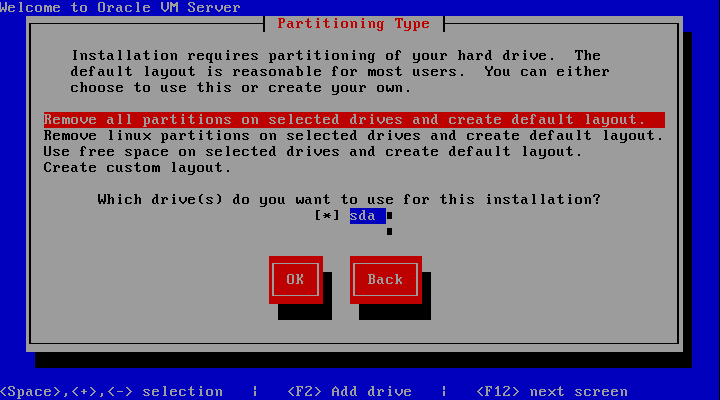
Oracle recommends you use a default partition layout.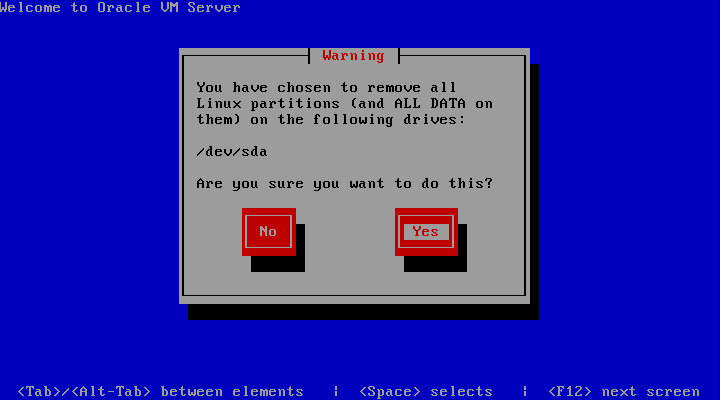


After Installing Oracle Virtual Server please make sure you stop the firewall
#service iptables stop
#chkconfig iptables off
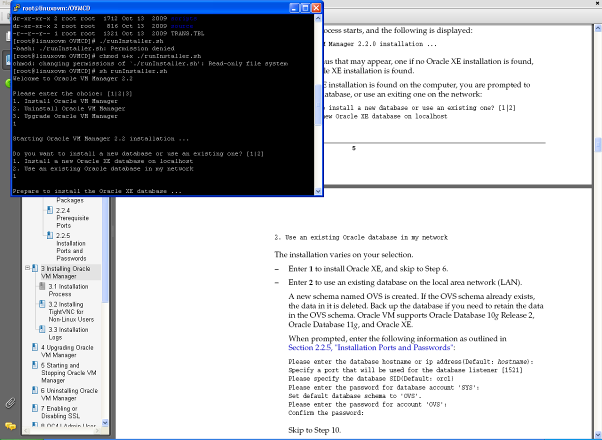
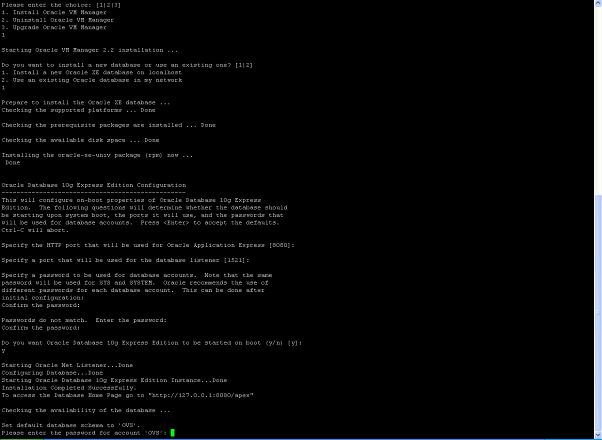
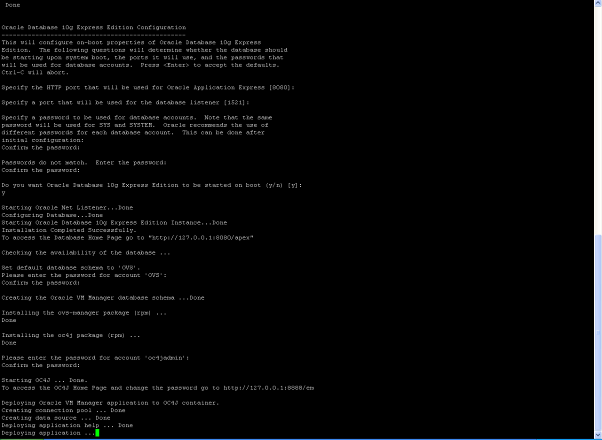
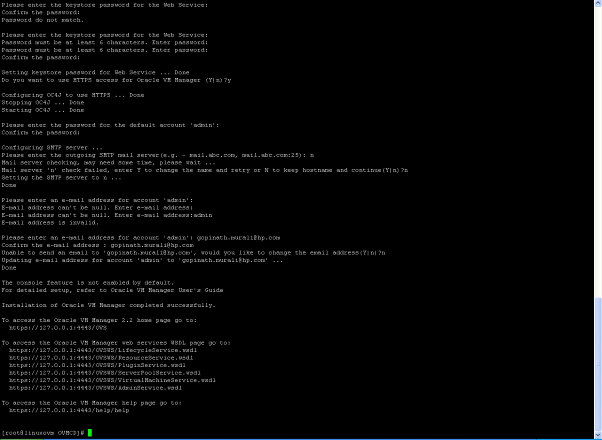
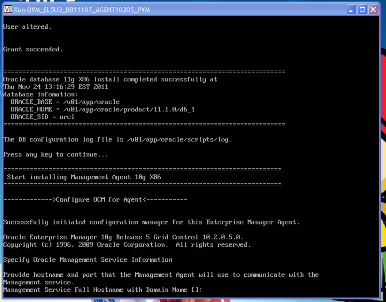
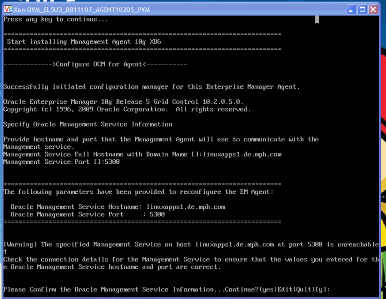
Oracle VM Manager installation


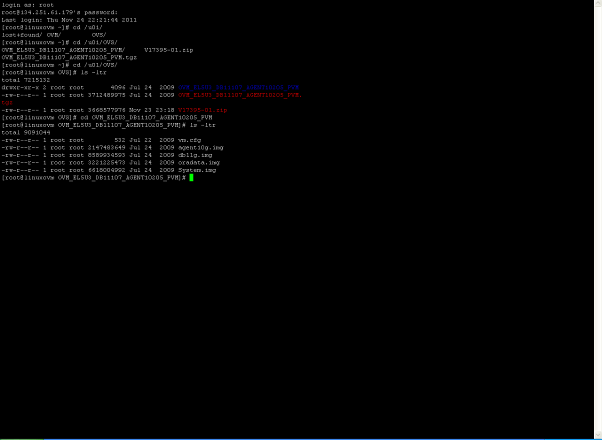
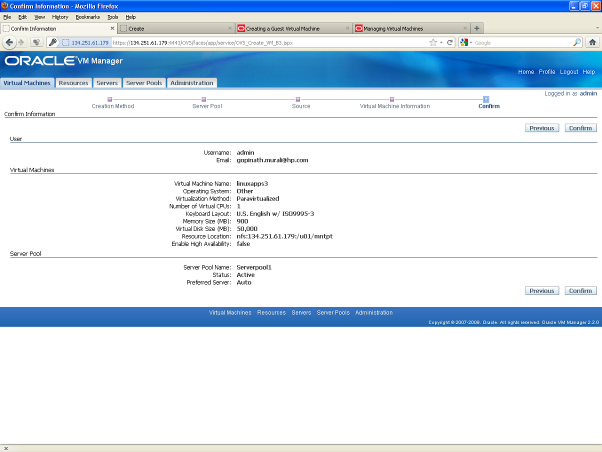
Installing VM guest from a template
Download the template and sftp to the VM server.
Import the template from VM manager screen


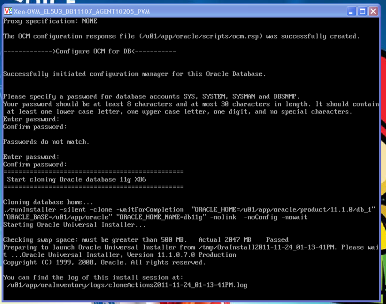

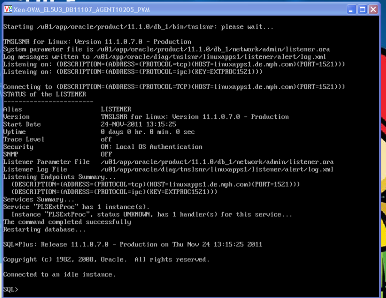
Lsnr started


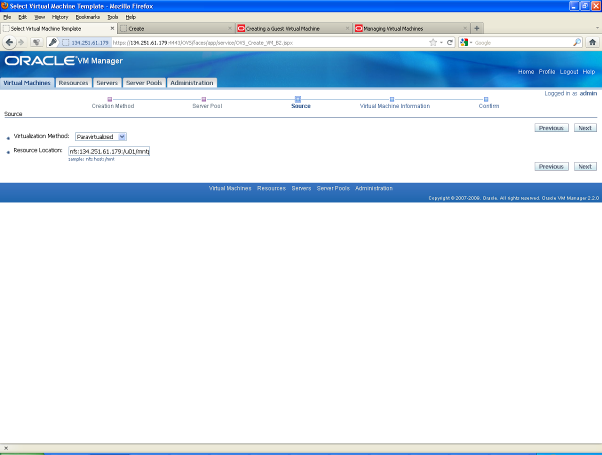
Installing from ISO image
If there is no log generated while creating vm guest using ISO file and guest creation gives error then most probably nfs service is not started or firewall is on.
ftp the ISO image to the OVS server(Host ) and mount it on an empty directory
then execute the following commands to nfs mount it
vi /etc/exports
/mntpt *(ro)
exportfs –ra
service nfs restart
service iptables stop


Error
Check memory, mac address and networktype
Register virtual machine img
Register virtual machine geninfo
Register virtual machine networks
Register virtual machine disks
Create PVM
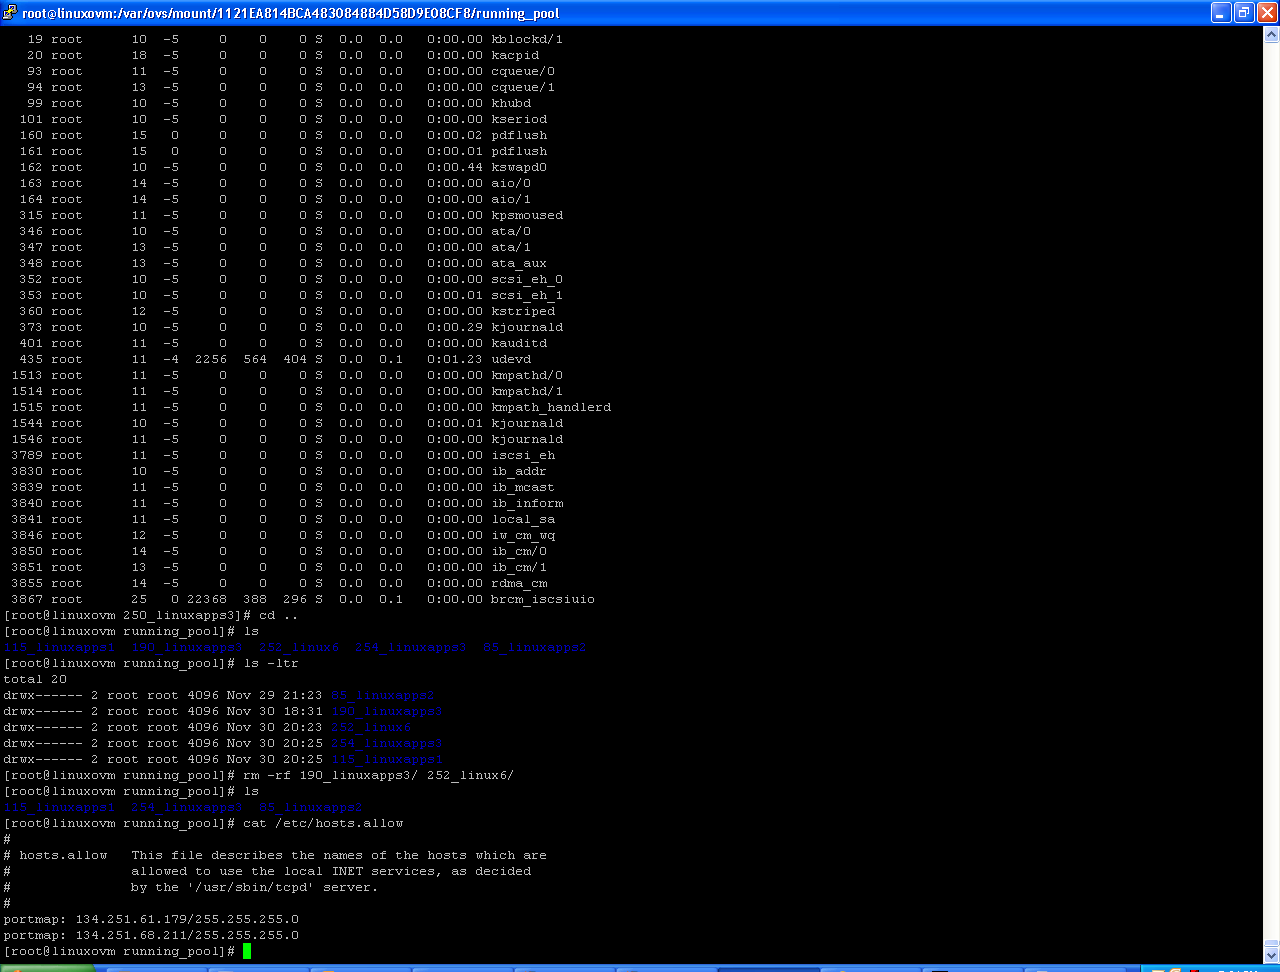
Failed. Result -failed:<Exception: failed:<Exception: ['virt-install', '--paravirt', '--name=190_linuxapps3', '--ram=500', '--vcpus=1', '--vnc', '--vnclisten=0.0.0.0', '--vncpasswd=/tmp/tmpm5YNvk', '--noautoconsole', '--location=nfs:134.251.61.179:/u01/mntpt', '--keymap=en-us', '--mac=00:16:3E:18:7C:67', '--bridge=xenbr0', '--file=/var/ovs/mount/1121EA814BCA483084884D58D9E08CF8/running_pool/190_linuxapps3/System.img', '--file-size=48.828125'] => mount: 134.251.61.179:/u01/mntpt failed, reason given by server: Permission denied
umount: /var/lib/xen/xennfs.8P3I3M: not mounted
umount: /var/lib/xen/xennfs.8P3I3M: not found
mount: 134.251.61.179:/u01/mntpt failed, reason given by server: Permission denied
umount: /var/lib/xen/xennfs.GjJYpg: not mounted
umount: /var/lib/xen/xennfs.GjJYpg: not found
mount: 134.251.61.179:/u01/mntpt failed, reason given by server: Permission denied
umount: /var/lib/xen/xennfs.wn9c09: not mounted
umount: /var/lib/xen/xennfs.wn9c09: not found
mount: 134.251.61.179:/u01/mntpt failed, reason given by server: Permission denied
umount: /var/lib/xen/xennfs.jB6-L0: not mounted
umount: /var/lib/xen/xennfs.jB6-L0: not found
mount: 134.251.61.179:/u01/mntpt failed, reason given by server: Permission denied
umount: /var/lib/xen/xennfs.A1tYra: not mounted
umount: /var/lib/xen/xennfs.A1tYra: not found
ERROR: Invalid NFS location given: [Errno 2] No such file or directory: '/var/lib/xen/xennfs.A1tYra/boot/x86_64/vmlinuz-xen'
>
StackTrace:
File "/opt/ovs-agent-2.3/OVSXXenVMInstall.py", line 317, in xen_install_vm_para
run_cmd(args=cmdlist)
File "/opt/ovs-agent-2.3/OVSCommons.py", line 92, in run_cmd
raise Exception('%s => %s' % (args, err))
>
StackTrace:
File "/opt/ovs-agent-2.3/OVSSiteVMInstall.py", line 197, in install_vm_para
else: raise Exception(rs)
If you get above error then add the OVS server to hosts.allow .


Post install
After installation we were consuming 4ip’s on the DHCP ,one for the Host and three for the Guest.We wanted to reduce that so we used the following configuration
